If you are having a roof replacement for the first time, you might be wondering how a general contractor installs a new roof and what the process includes. In this article, we are going to provide description of a typical roof replacement project to help you learn more about the process.
Step 1. Performing an initial roof inspection
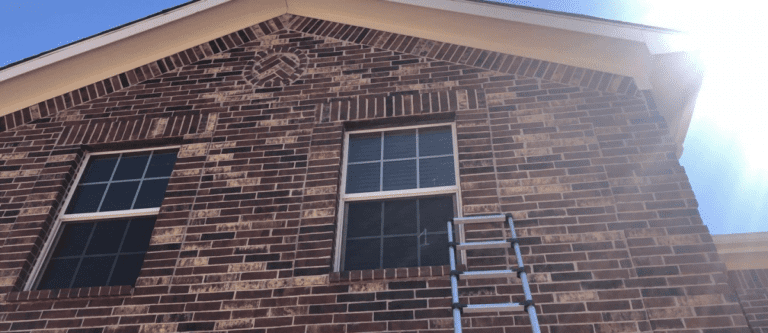
Once you have negotiated the project with a general contractor, a roofer will come to your home and perform a roof inspection to outline the steps of the project. They will assess the current condition of your roof and look for any signs of damage.
Step 2. Roof material removal and minor repairs
During the very first step of your replacement project, the roofer will remove the old material and perform minor repairs if your plywood needs replacement. Roofers will use tarps to protect your house during the process and will use magnetic tools to pick up nails in metal objects from your yard.
Step 3. Installing foundation materials
The ice guard membrane is installed to prevent water from backing up under the roofing material and penetrating through the sheathing where it can make its way into your home. Roof replacement requires installing ice dam protection as an initial step of the process. After the ice guard membrane, asphalt roofing paper is installed over the roof sheathing in an overlapping manner to create an inner barrier against water. Then, metal drip edging and valley flashing are installed around the edge of the roof and the peak of the roof. The general contractor will check if the two roof planes are properly isolated and protected where they meet.
Step 4. Roof material installation
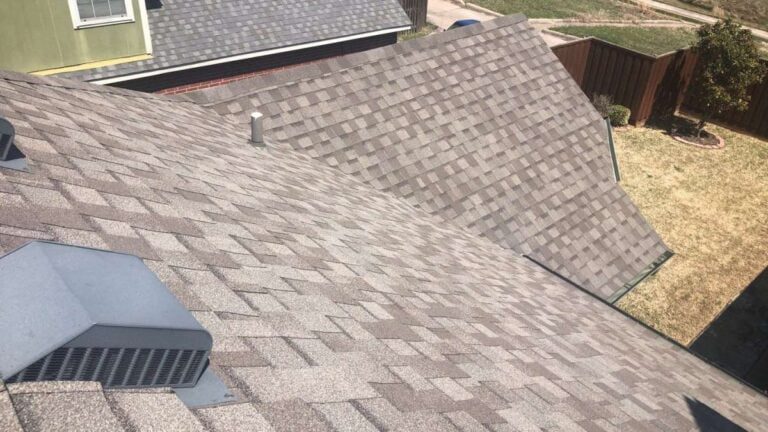
Now your general contractor is ready to install your roof material – asphalt shingles, clay tiles, or wood shakes. The installation begins at the edges of the roof and works upward toward the peak of the roof. The flashing might also be installed during this step. It is needed around all areas where roof elements penetrate the roof.
Step 5. Ridge vent installation
The final step of a roof replacement is installing the ridge vent which will help the air circulation in the attic by exhausting hot air and preventing winter ice dams.
Step 6. Final roof inspection
Once the roof replacement is complete and all the debris is cleaned up, a general contractor will perform a final roof inspection to confirm the project was performed properly and in due time.


